
In order to reduce shipping costs, we offer to buy some products as a “kit of parts for assembly”. When deciding to buy such a kit, you should realize that you will have to assemble it yourself. Among our customers, mostly female customers, we met craftsmen who not only do not need any instructions, but who probably could teach us something themselves.
When creating all our constructions we try to design them in such a way that the natural properties of wood make all assembled parts stronger, stronger to hold each other together (in a hug). Nothing special is required for assembly. Let’s show what is right and what is wrong on the example of assembling a folding screen. You can’t tell from the photo how much engineering trickery is in these simple curves. But here’s the blueprint-
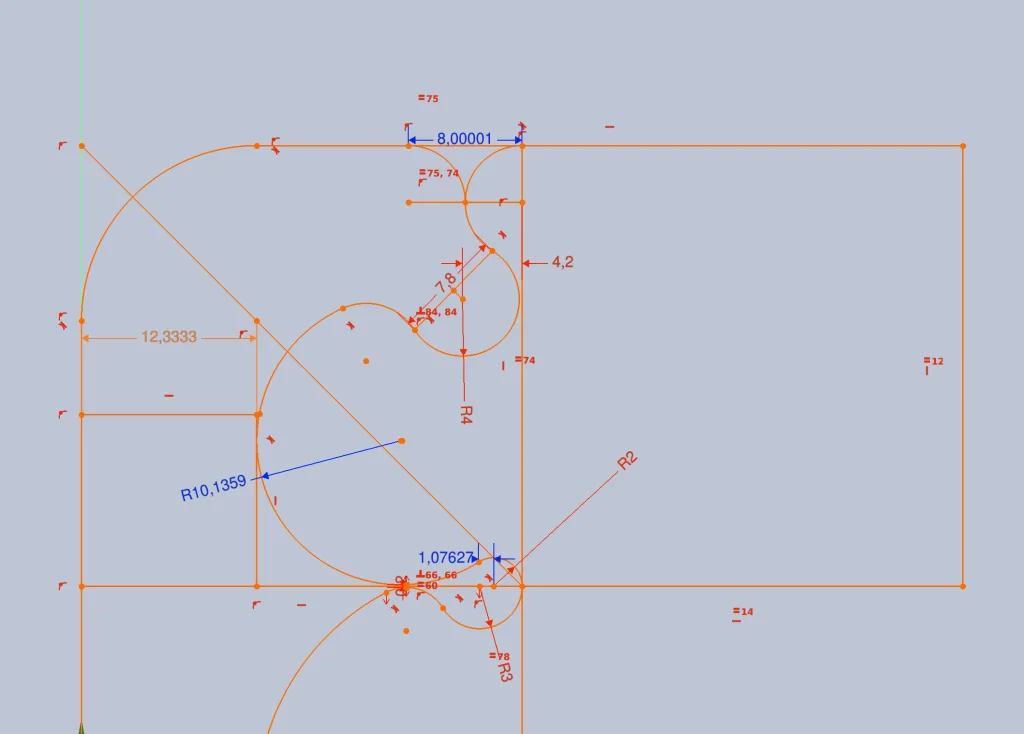
To begin with, a few words about the arrangement of parts during assembly. Each section of the screen consists of a right and left post, a lower and upper bar. The side posts have joints (hinges). The hinges can be disassembled if necessary, but this should not be desired unless absolutely necessary. The upper and lower crossbars have holes for screws, which are used to fasten the textile. With these screws, the fabric can be easily removed, washed and replaced.
Since the side vertical posts have hinges, before assembly, you should place the side post on any table and put something smooth and hard between the table and the post. The goal is to make sure that the hinge parts do not touch the table (otherwise the wood will spring back and interfere with assembly).
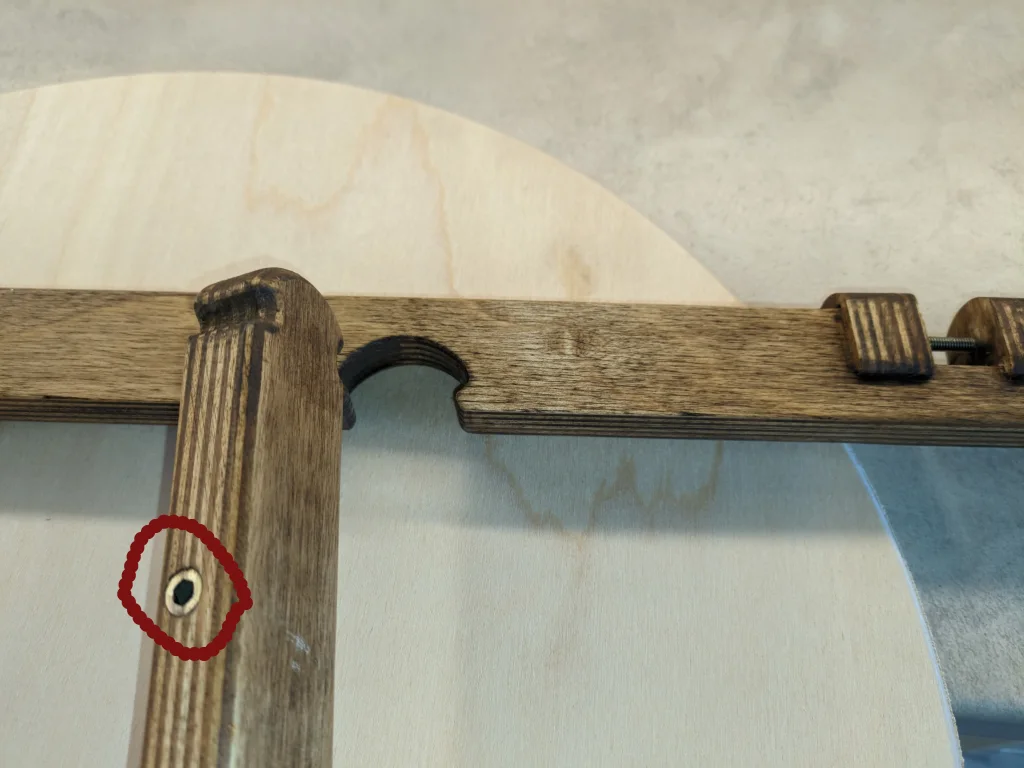
Please note the red color – it is very important that the holes of the bottom bar “look up” and the holes of the top bar “look down”. The holes always point towards the hinges. It is also important that the rounded ribs of all parts face down towards the table. This is necessary for smooth entry of the parts into the grooves.
It is not obligatory to use glue. But with glue, the product will fold more securely, and assembly will be easier – glue will make it easier for the parts to slide when assembling. The glue should be simple, PVA, it is enough to smear slightly the sliding places.
T
here is no need to be afraid to use a pinky finger – PVA glue is non-toxic and can be easily washed off your hands with water. Brushes and other tools will never give the precision that a pinky finger gives. You don’t need a thick layer. You just need to smear it so it glides easily.
It is impossible to get the parts wrong. You can only make a mistake with the direction of the holes in the bottom bar – be careful, the holes always look towards the hinges.
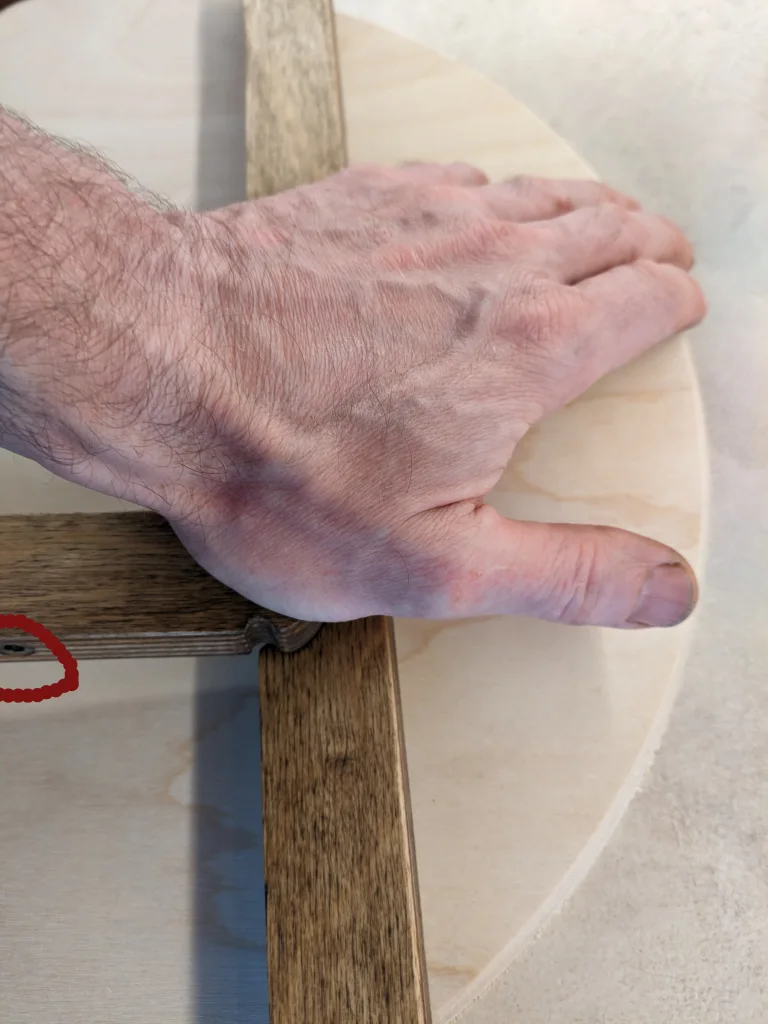
If you have enough strength, you can do as we did, you can assemble the parts by pressing the hand (or hitting the hand).
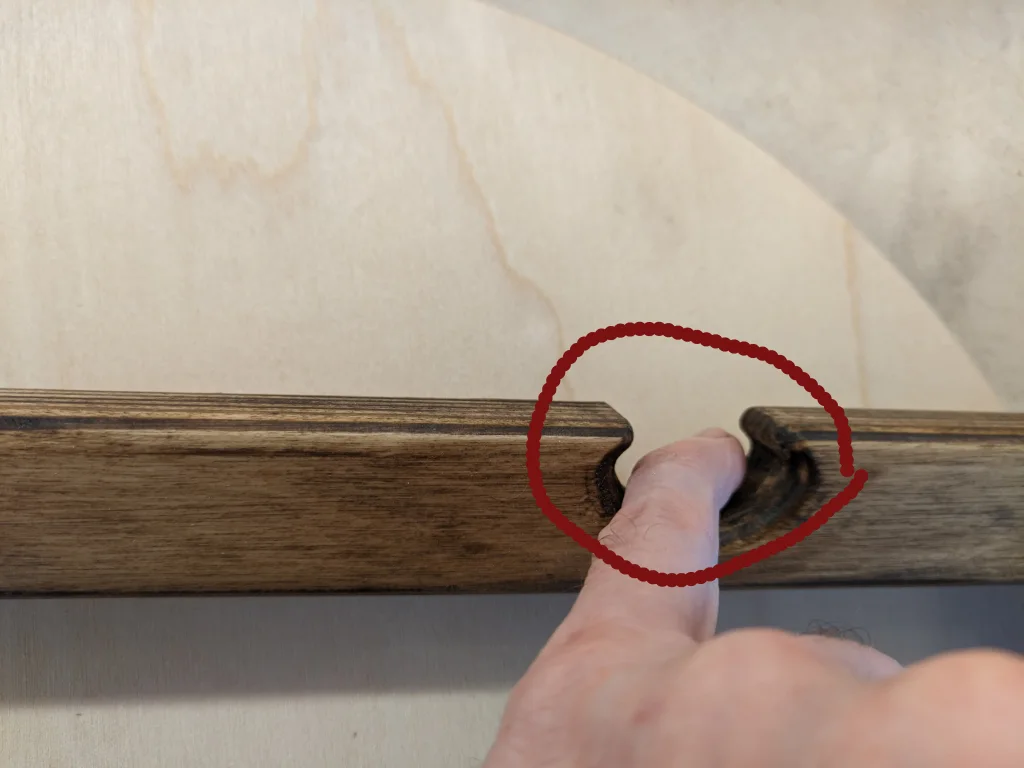
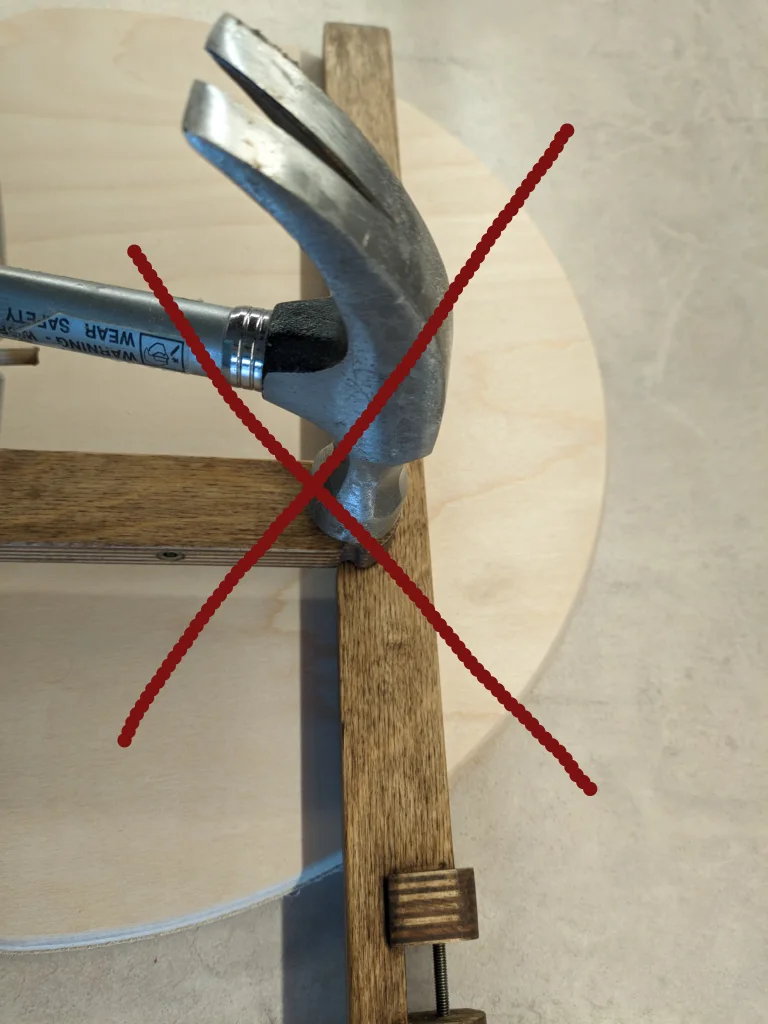
You can also use a hammer, but be sure to put something as a spacer between the hammer and the parts. This is not the way to do it –
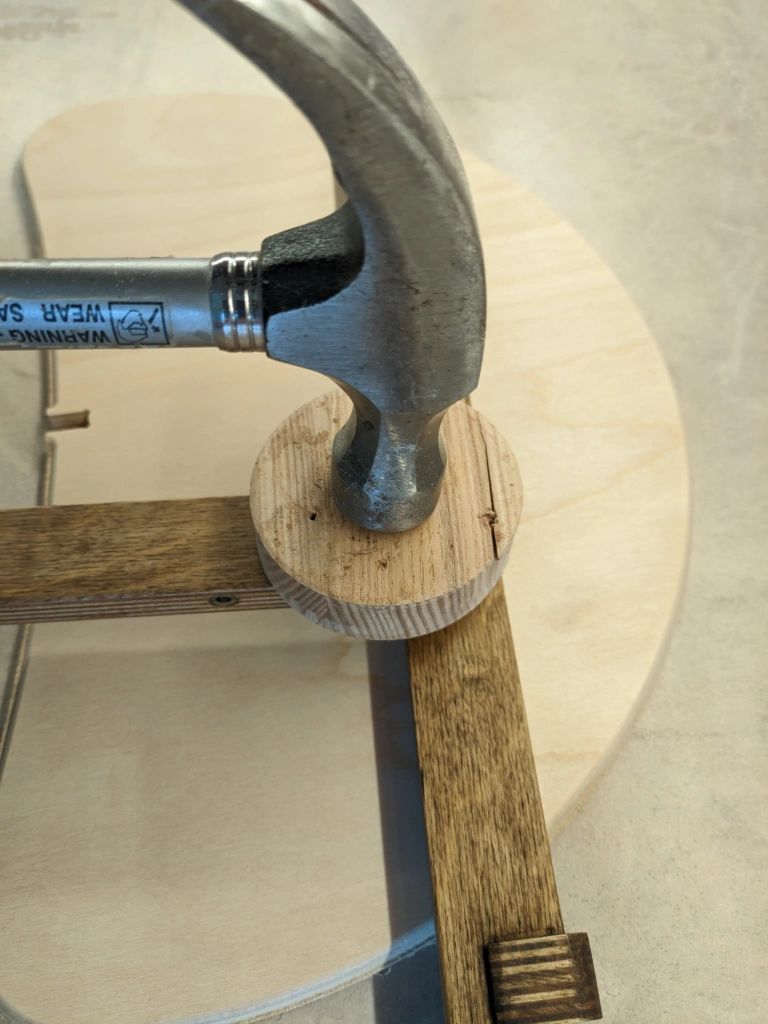
And this is how you can and should do it –
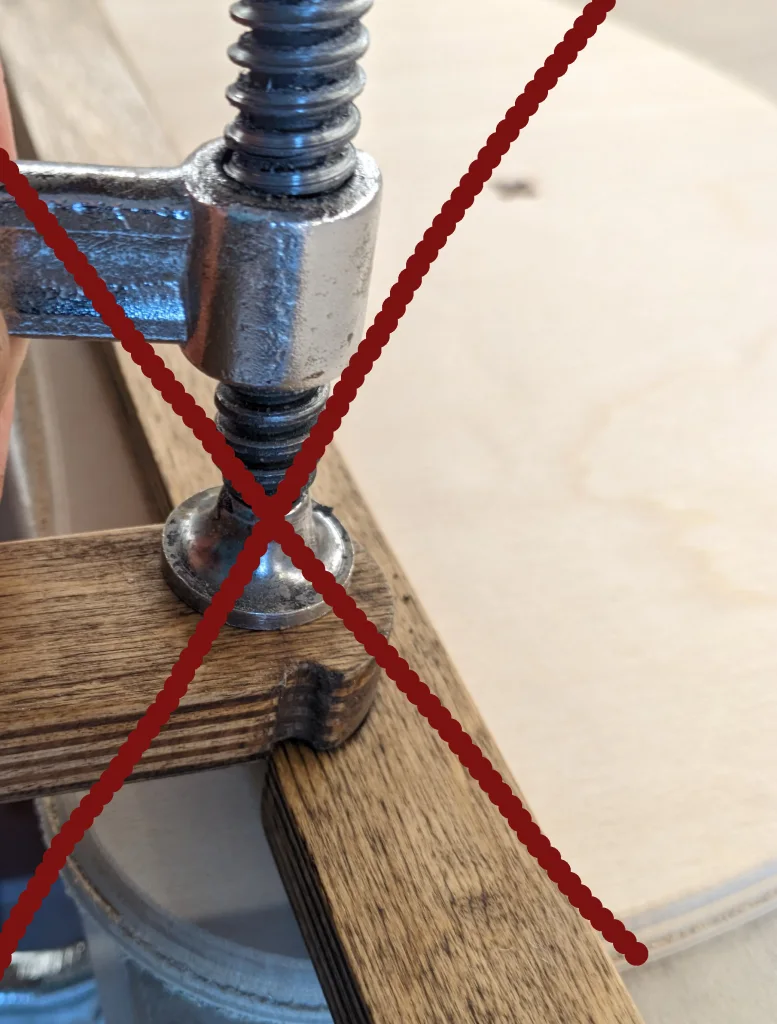
However, using a hammer is not the best way and is noisy. It is much better to use a clamp. This is the best way of assembly. But even here you have to use an intermediary – a spacer. That’s not the way to do it –
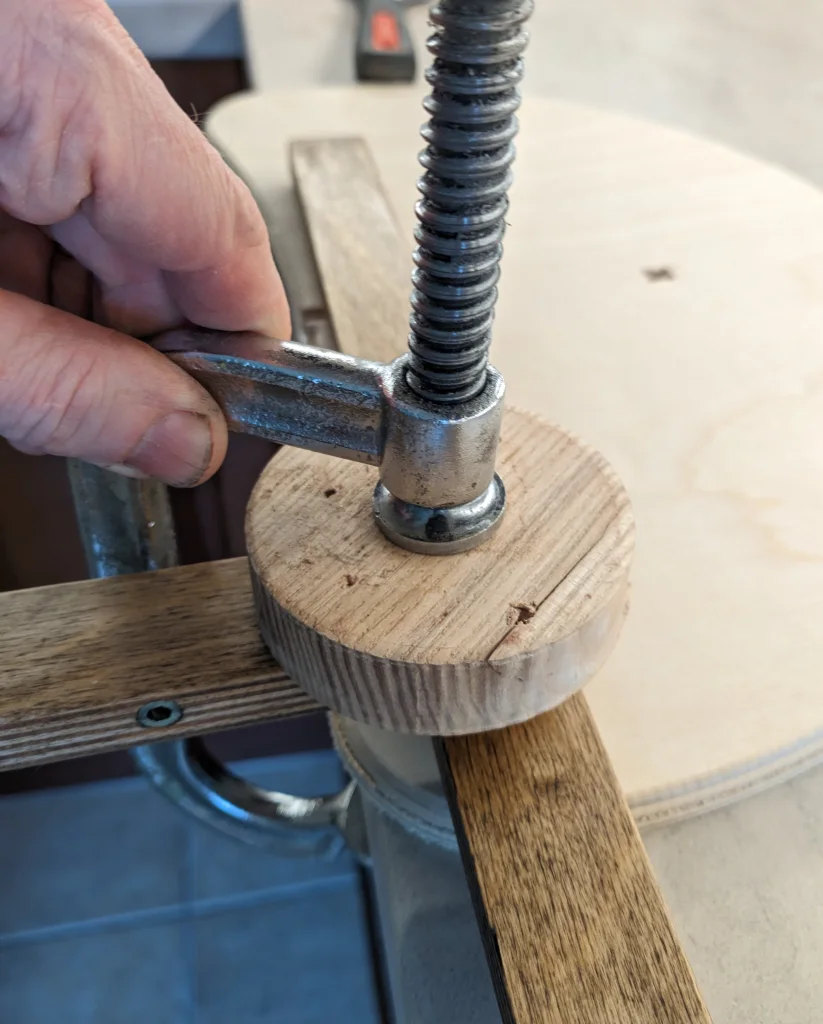
And this is how you can and should do it –
When all the parts have been assembled, the only thing left to do is to install the textiles. Each section should be done one by one. First, we take the fabric, iron it with an iron, and fasten the upper part to the upper bar. Attention! Do not screw the top screws to the stop at once! At first we make 2-4 turns. Then start screwing in the lower screws. If the upper screws are screwed in all the way, it will be difficult to start screwing in the lower screws.